Creating a custom frontend route in Magento 2 is a common task when building new features or pages for your store. In this tutorial, we’ll walk you through the process of creating a frontend route using a real example module called Magencode_MyModule. You’ll learn how Magento 2 frontend routes work and how to display custom content using controllers, blocks, and templates.
Before you can define a frontend route in Magento 2, you must create and register your module properly. Magento 2 modules follow a specific structure and need to be declared in the system configuration to be recognized by the framework.
For example, our module is named Magencode_MyModule. Here’s what you need to do to register it:
First, navigate to your Magento installation directory and go to the app/code folder. If it doesn’t exist, create it.
Now create the vendor and module namespace:
<magento root directory>/app/code/Magencode/MyModule
Inside app/code/Magencode/MyModule/etc, create a file named module.xml:
<?xml version="1.0" ?>
<config xmlns:xsi="http://www.w3.org/2001/XMLSchema-instance" xsi:noNamespaceSchemaLocation="urn:magento:framework:Module/etc/module.xsd">
	<module name="Magencode_MyModule"/>
</config>
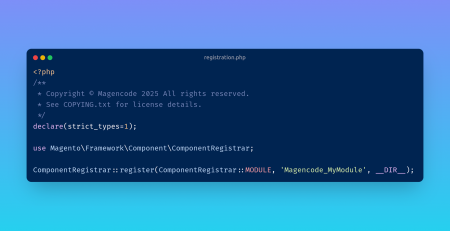
Create registration.php in the root of your module folder:
<?php
/**
 * Copyright © Magencode 2025 All rights reserved.
 * See COPYING.txt for license details.
 */
declare(strict_types=1);

use Magento\Framework\Component\ComponentRegistrar;

ComponentRegistrar::register(ComponentRegistrar::MODULE, 'Magencode_MyModule', __DIR__);
Make sure your module is enabled by running:
bin/magento setup:upgrade
bin/magento cache:flush
Once your Magento 2 module is registered and enabled, you can proceed to define custom frontend routes.
What Is a Frontend Route in Magento 2?
A frontend route in Magento 2 maps a URL path to a specific controller and action. For example, when a user visits /magencode/mymodule/index, Magento checks the route configuration and loads the corresponding controller logic to generate the page.
1. Define the Route in routes.xml
First, define your custom route in the etc/frontend/routes.xml file:
<?xml version="1.0" ?>
<config xmlns:xsi="http://www.w3.org/2001/XMLSchema-instance" xsi:noNamespaceSchemaLocation="urn:magento:framework:App/etc/routes.xsd">
	<router id="standard">
		<route id="magencode" frontName="magencode">
			<module name="Magencode_MyModule"/>
		</route>
	</router>
</config>
2. Create the Frontend Controller
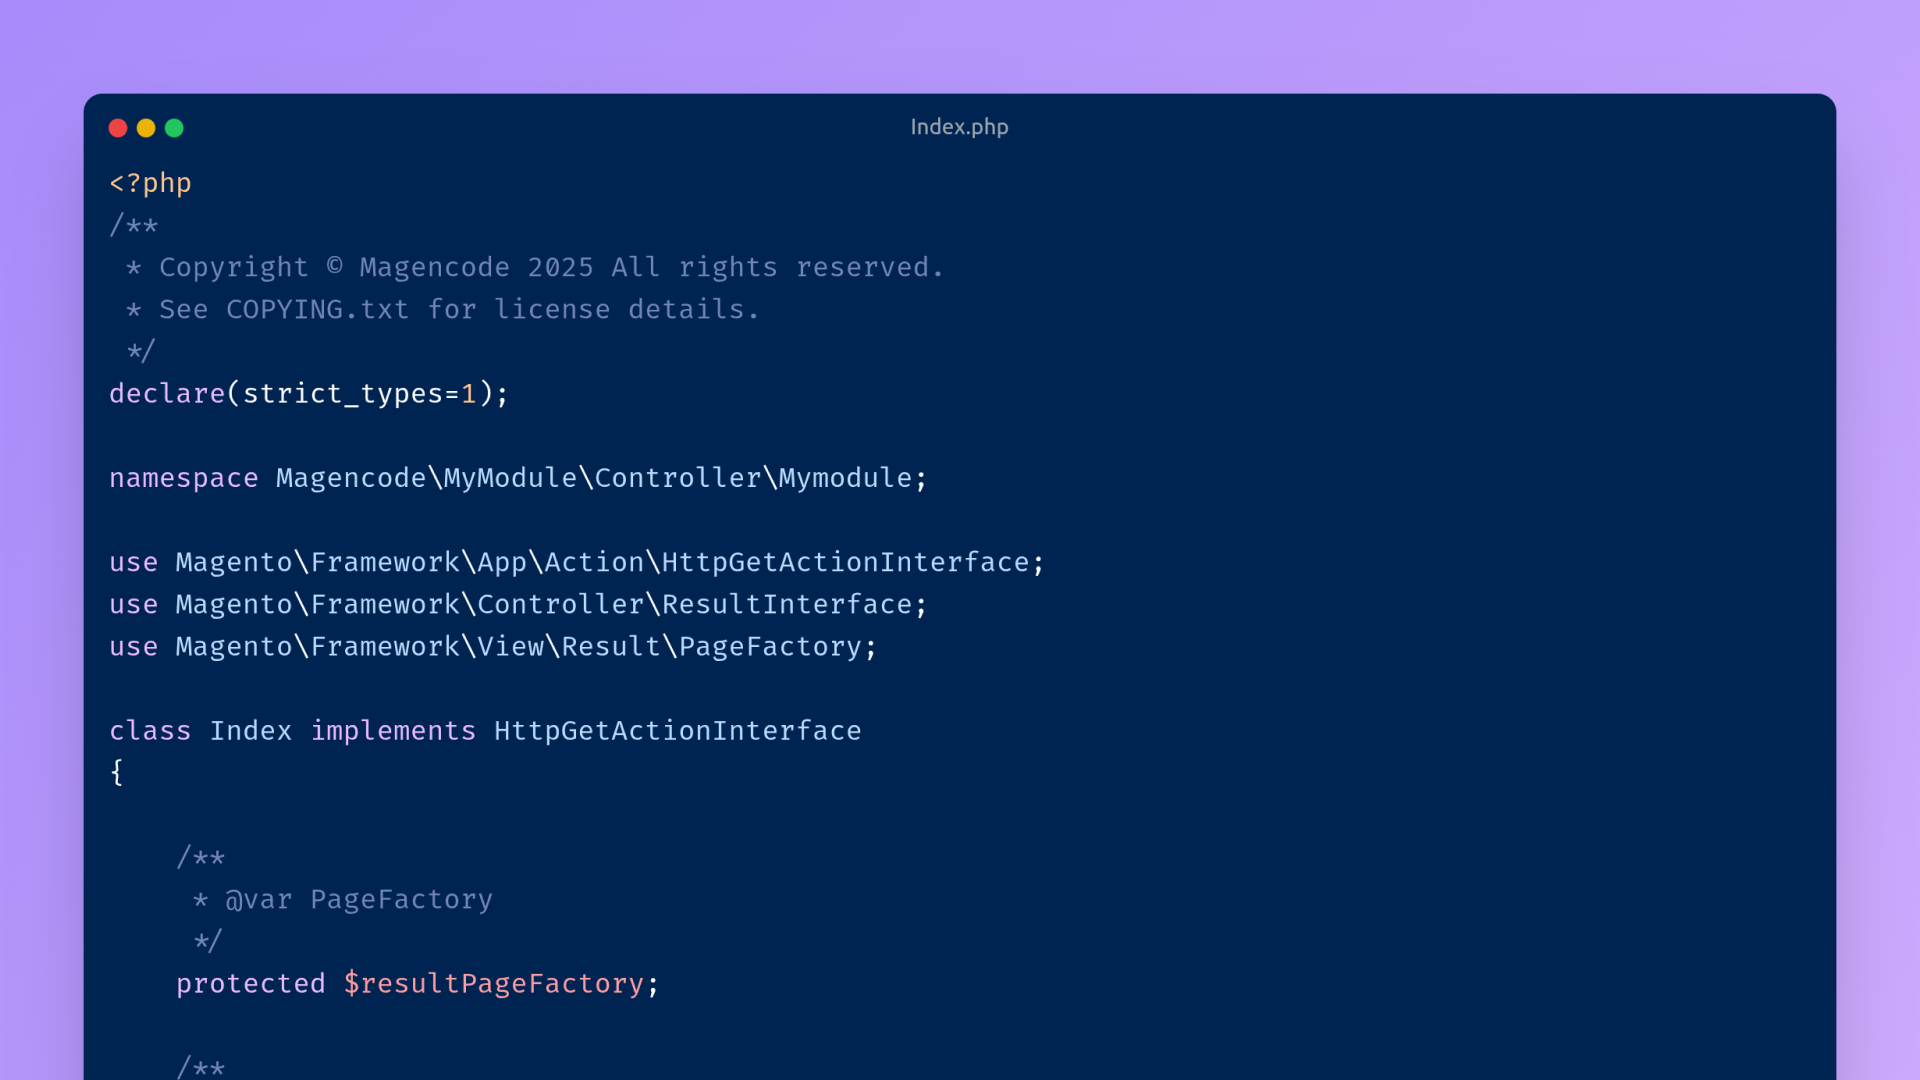
Next, add your controller class at Controller/Mymodule/Index.php:
<?php
/**
 * Copyright © Magencode 2025 All rights reserved.
 * See COPYING.txt for license details.
 */
declare(strict_types=1);

namespace Magencode\MyModule\Controller\Mymodule;

use Magento\Framework\App\Action\HttpGetActionInterface;
use Magento\Framework\Controller\ResultInterface;
use Magento\Framework\View\Result\PageFactory;

class Index implements HttpGetActionInterface
{

    /**
     * @var PageFactory
     */
    protected $resultPageFactory;

    /**
     * Constructor
     *
     * @param PageFactory $resultPageFactory
     */
    public function __construct(PageFactory $resultPageFactory)
    {
        $this->resultPageFactory = $resultPageFactory;
    }

    /**
     * Execute view action
     *
     * @return ResultInterface
     */
    public function execute(): ResultInterface
    {
        return $this->resultPageFactory->create();
    }
}
3. Add a Layout XML File
Now define the layout structure in view/frontend/layout/magencode_mymodule_index.xml:
<?xml version="1.0" ?>
<page xmlns:xsi="http://www.w3.org/2001/XMLSchema-instance" layout="1column" xsi:noNamespaceSchemaLocation="urn:magento:framework:View/Layout/etc/page_configuration.xsd">
	<body>
		<referenceContainer name="content">
			<block name="mymodule.index" class="Magencode\MyModule\Block\Mymodule\Index" template="Magencode_MyModule::mymodule/index.phtml"/>
		</referenceContainer>
	</body>
</page>
4. Create the Block Class
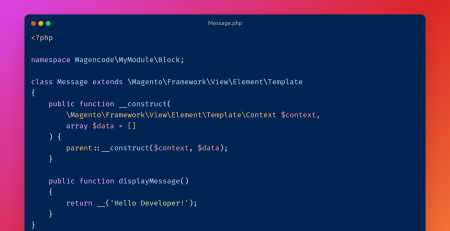
Place the following PHP file in Block/Mymodule/Index.php:
<?php
/**
 * Copyright © Magencode 2025 All rights reserved.
 * See COPYING.txt for license details.
 */
declare(strict_types=1);

namespace Magencode\MyModule\Block\Mymodule;

class Index extends \Magento\Framework\View\Element\Template
{

    /**
     * Constructor
     *
     * @param \Magento\Framework\View\Element\Template\Context  $context
     * @param array $data
     */
    public function __construct(
        \Magento\Framework\View\Element\Template\Context $context,
        array $data = []
    ) {
        parent::__construct($context, $data);
    }
}
5. Create the Template File
Finally, create the template file at view/frontend/templates/mymodule/index.phtml:
Hello mymodule/index.phtml
Test Your Magento 2 Frontend Route
Flush the Magento cache and visit the following URL in your browser:
https://<yourdomain.com>/magencode/mymodule/index
You should see the message “Hello mymodule/index.phtml” rendered from your template.
Conclusion
Creating a frontend route in Magento 2 is essential when building custom pages or functionality. In this guide, you created a complete route using a controller, block, and template. Understanding how Magento 2 frontend routes work helps you build scalable and organized modules for your store.

Leave a Reply