Magento 2 has a built-in cron system that allows developers to schedule automated tasks. If you need to run a recurring action—like syncing data, generating reports, or clearing logs—a properly configured Magento 2 cron job is the way to do it. This tutorial will walk you through the steps to build a custom cron job in your own module.
In this tutorial, we’ll walk through how to create a Magento 2 cron job step by step, using a module named Magencode_MyModule.
Why Magento 2 Cron Jobs Are Essential for Automation
Cron jobs help automate repetitive or scheduled actions in a Magento store. Whether you’re running daily syncs or generating reports, scheduling these tasks within Magento keeps your system modular, maintainable, and in sync with Magento’s event and cache systems.
Understanding the Required File Structure
To create a Magento 2 cron job, your module should include the following structure:
├── Cron
│   └── Task.php
├── etc
│   ├── crontab.xml
│   └── module.xml
└── registration.php
Each of these files plays a critical role in defining and executing the cron job.
Writing the Cron Execution Logic
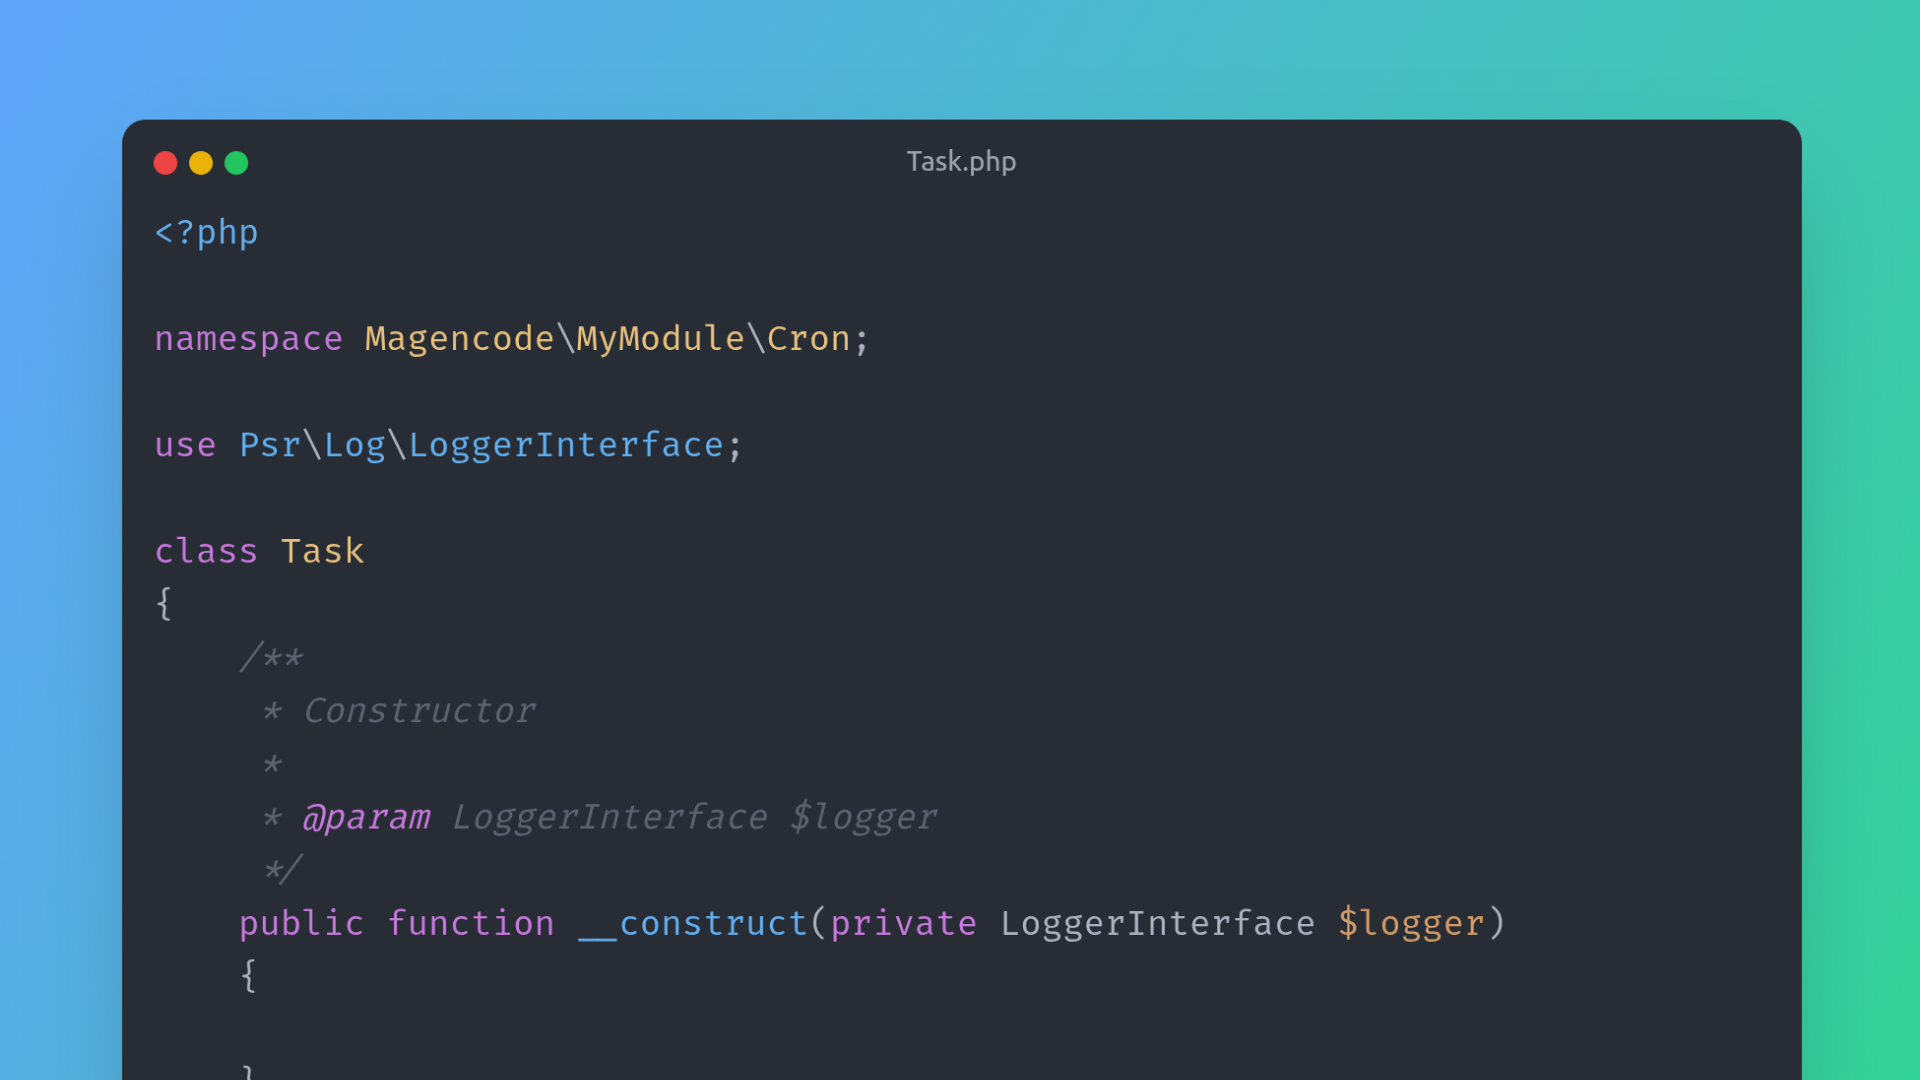
The main logic for your cron job goes inside the PHP class under the Cron directory. For example:
<?php
/**
 * Copyright © Magencode 2025 All rights reserved.
 * See COPYING.txt for license details.
 */
declare(strict_types=1);

namespace Magencode\MyModule\Cron;

use Psr\Log\LoggerInterface;

class Task
{

    /**
     * Constructor
     *
     * @param LoggerInterface $logger
     */
    public function __construct(private LoggerInterface $logger)
    {

    }

    /**
     * Execute the cron
     *
     * @return void
     */
    public function execute(): void
    {
        $this->logger->info("Cronjob Task is executed.");
    }
}
This class must contain an execute() method, which Magento will call when the job runs.
Scheduling the Task with XML Configuration
To register the cron job, define it in the etc/crontab.xml file:
<?xml version="1.0" ?>
<config xmlns:xsi="http://www.w3.org/2001/XMLSchema-instance" xsi:noNamespaceSchemaLocation="urn:magento:module:Magento_Cron:etc/crontab.xsd">
	<group id="default">
		<job name="magencode_mymodule_task" instance="Magencode\MyModule\Cron\Task" method="execute">
			<schedule>*/5 * * * *</schedule>
		</job>
	</group>
</config>
The schedule uses standard cron syntax. In this case, it runs every 5 minutes.
Declaring the Module to Magento
Like any other module, your cron module must be declared to Magento. In the etc/module.xml file:
<?xml version="1.0" ?>
<config xmlns:xsi="http://www.w3.org/2001/XMLSchema-instance" xsi:noNamespaceSchemaLocation="urn:magento:framework:Module/etc/module.xsd">
	<module name="Magencode_MyModule"/>
</config>
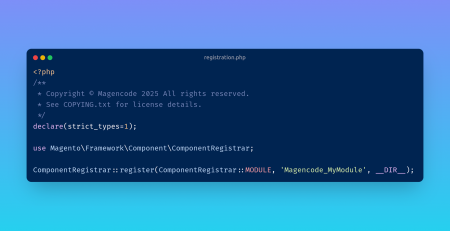
And in registration.php:
<?php
/**
 * Copyright © Magencode 2025 All rights reserved.
 * See COPYING.txt for license details.
 */
declare(strict_types=1);

use Magento\Framework\Component\ComponentRegistrar;

ComponentRegistrar::register(ComponentRegistrar::MODULE, 'Magencode_MyModule', __DIR__);
Enabling the Module and Running the Cron System
Once your files are in place, enable your module and run the Magento cron:
php bin/magento setup:upgrade
php bin/magento module:enable Magencode_MyModule
php bin/magento cache:flush
Conclusion
Creating a Magento 2 cron job gives you the power to automate recurring tasks inside the framework. With a structured module, proper XML configuration, and native execution logic, you can schedule anything from custom exports to automated maintenance, all within Magento’s event-driven architecture.

Leave a Reply