In this tutorial, you’ll learn how to create a block in Magento 2 by building a simple custom module step by step. Blocks in Magento 2 are used to pass data from the backend to templates and are essential when working with the view layer. Let’s create a basic module named Magencode_MyModule and render a custom message in the frontend.
Create a Module to Add a Block in Magento 2
Create the following directory structure inside app/code:
app/code/Magencode/MyModule/
├── Block
│   └── Message.php
├── etc
│   └── module.xml
├── registration.php
└── view
    └── frontend
        ├── layout
        │   └── cms_index_index.xml
        └── templates
            └── message.phtml
Register Your Magento 2 Module for the Block
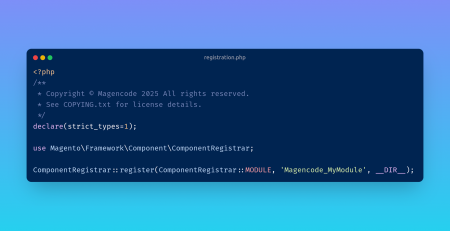
Inside app/code/Magencode/MyModule, create the registration.php file:
<?php
/**
 * Copyright © Magencode 2025 All rights reserved.
 * See COPYING.txt for license details.
 */
declare(strict_types=1);

use Magento\Framework\Component\ComponentRegistrar;

ComponentRegistrar::register(ComponentRegistrar::MODULE, 'Magencode_MyModule', __DIR__);
Then, create the etc/module.xml file:
<?xml version="1.0" ?>
<config xmlns:xsi="http://www.w3.org/2001/XMLSchema-instance" xsi:noNamespaceSchemaLocation="urn:magento:framework:Module/etc/module.xsd">
	<module name="Magencode_MyModule"/>
</config>
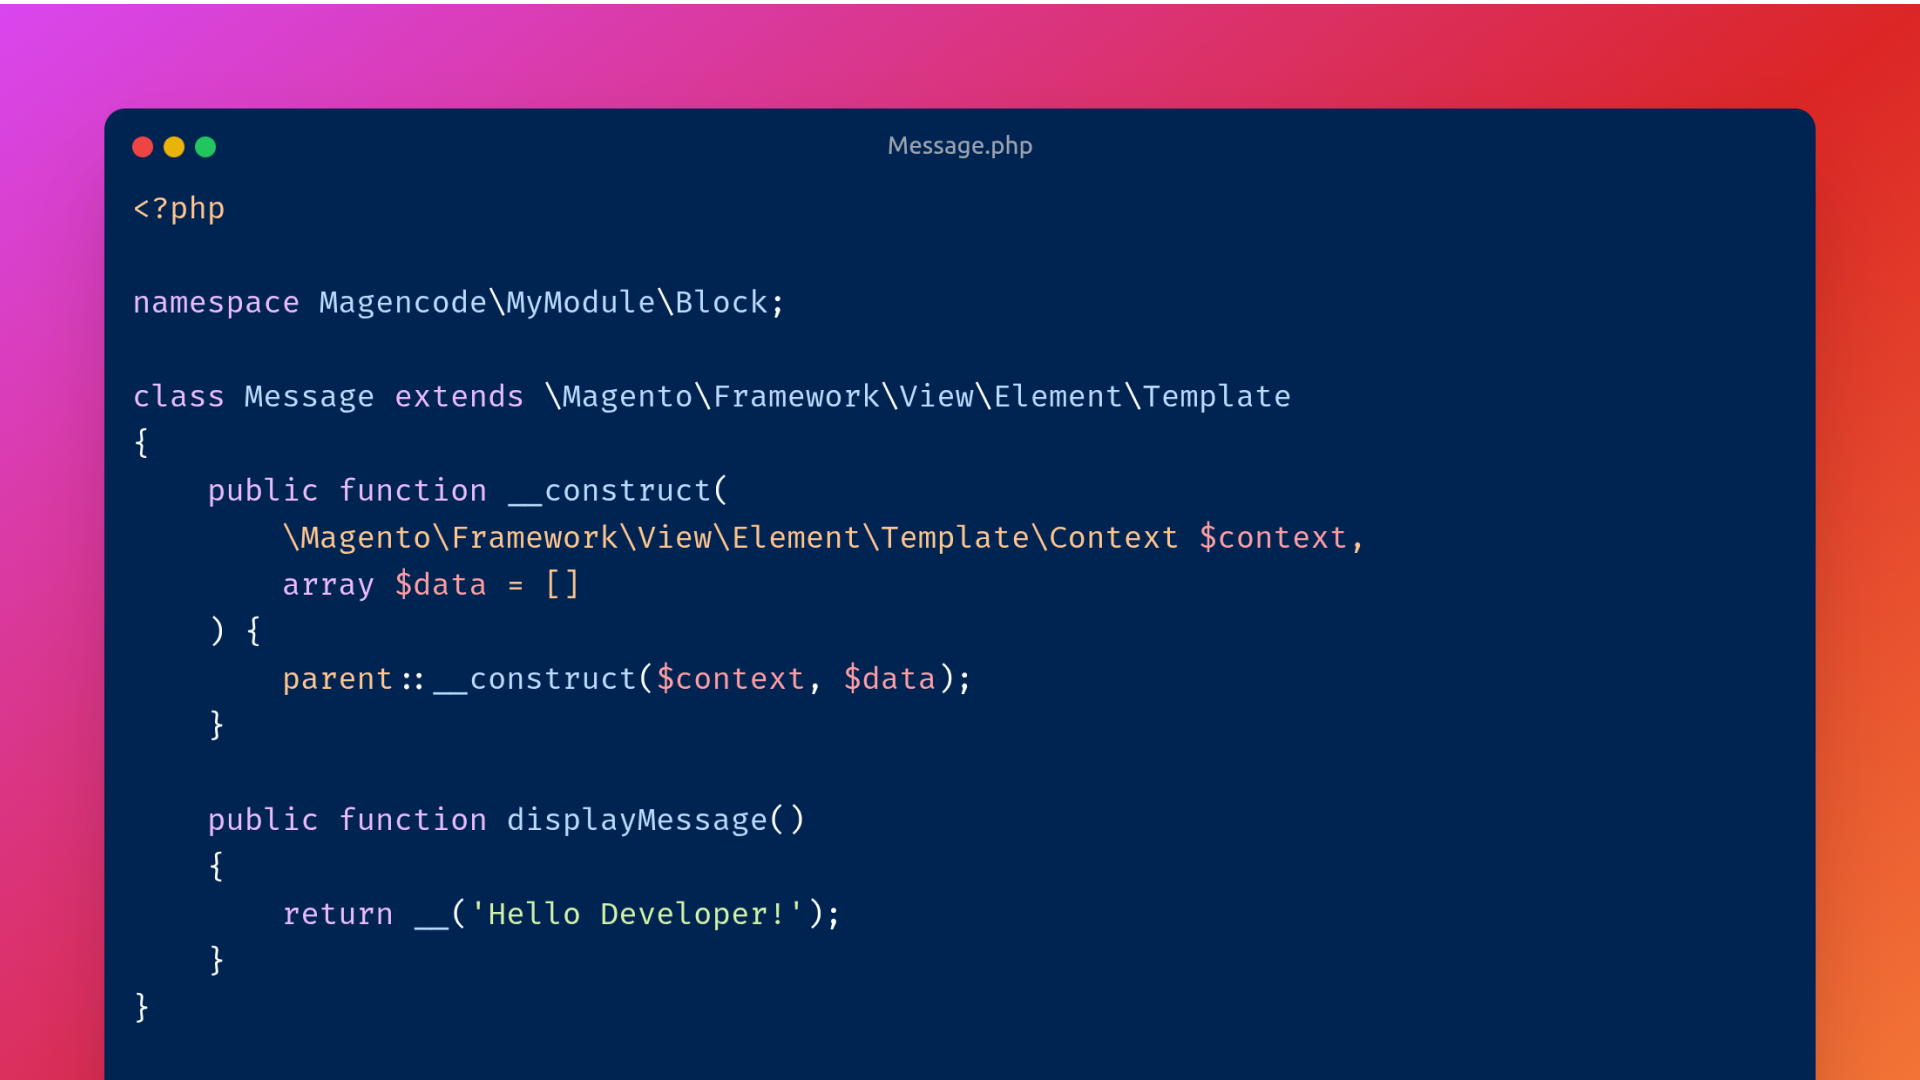
Create the block class
Inside the Block folder, create a file named Message.php with the following content:
<?php
/**
 * Copyright © Magencode 2025 All rights reserved.
 * See COPYING.txt for license details.
 */
declare(strict_types=1);

namespace Magencode\MyModule\Block;

class Message extends \Magento\Framework\View\Element\Template
{
    /**
     * Constructor
     *
     * @param \Magento\Framework\View\Element\Template\Context  $context
     * @param array $data
     */
    public function __construct(
        \Magento\Framework\View\Element\Template\Context $context,
        array $data = []
    ) {
        parent::__construct($context, $data);
    }

    /**
     * @return string
     */
    public function displayMessage()
    {
        //Your block code
        return __('Hello Developer!');
    }
}
Create the template file
Now create the template file at view/frontend/templates/message.phtml:
<?php
/**
 * @var $block \Magencode\MyModule\Block\Message
 */
?>
<div>
	<?= $block->displayMessage() ?>
</div>
Render the block using layout XML
Create the file view/frontend/layout/cms_index_index.xml to add the block to the homepage:
<?xml version="1.0" ?>
<page xmlns:xsi="http://www.w3.org/2001/XMLSchema-instance" xsi:noNamespaceSchemaLocation="urn:magento:framework:View/Layout/etc/page_configuration.xsd">
	<body>
		<referenceContainer name="content">
			<block class="Magencode\MyModule\Block\Message" name="message" as="message" template="Magencode_MyModule::message.phtml"/>
		</referenceContainer>
	</body>
</page>
Enable and test the module
Run the following commands from your Magento root directory to enable the module:
php bin/magento setup:upgrade
php bin/magento cache:flush
Visit the homepage and you should see the message rendered from the custom block.


Leave a Reply